This post may contain affiliate links.
We do make a small commission off qualifying purchases and appreciate your support!

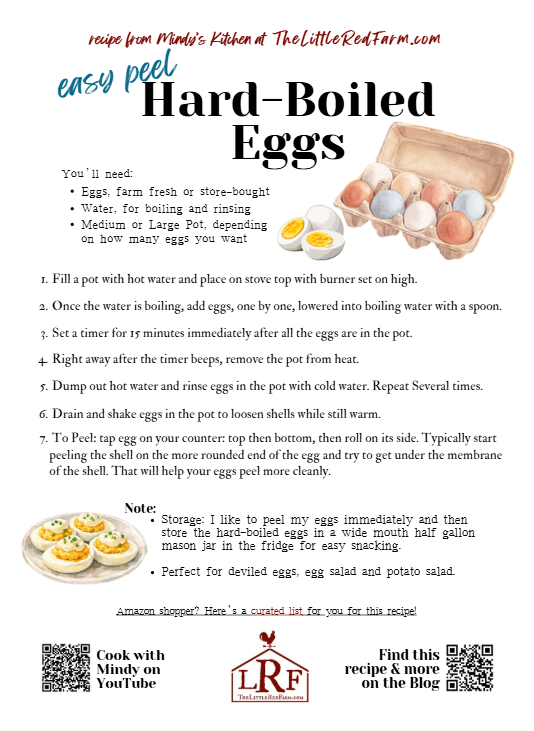
This simple method will give you perfect hard-boiled eggs every time. Whether you’re using farm fresh eggs from your own flock, local eggs, or store-bought, this easy technique will completely change the way you make hard boiled eggs.
How to Make Perfect Hard-Boiled Eggs
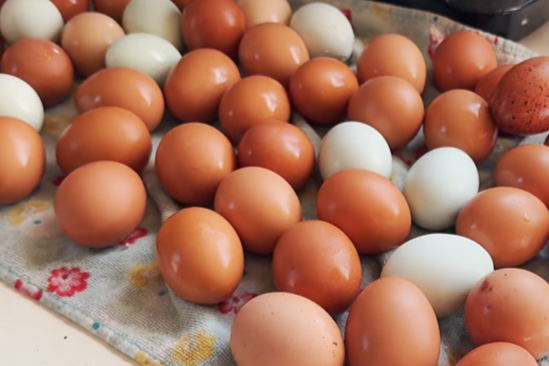
Springtime on the farm means one very exciting thing — lots of fresh eggs. Our chickens are laying beautiful rainbow eggs right now, and it makes me so happy every time I collect them!

Today, I’m going to show you exactly how I make perfect hard-boiled eggs using fresh eggs from the farm. If you’ve ever struggled with peeling or ended up with that gray ring around the yolk, this method will help you get clean, beautiful eggs every time.
Want to see it step by step? Check out the video below
Kitchen Tools I Use to Hard-Boil Eggs
You don’t need anything fancy for this method.
✔ Medium or Large Pot (depending how many eggs you want to boil)
✔ Stove
✔ Large Spoon (for lowering eggs into water)
✔ Sink and Cold Water
✔ Glass Jars with Lid (for storing peeled eggs in fridge, wide mouth jars work best)
Hard-Boiled Eggs Ingredients Needed
Here’s what you’ll want to gather before you begin…
- Eggs, farm fresh or store-bought
- Water
That’s it — so simple!
Substitutions
This method works whether your eggs are fresh from the coop or have been washed and refrigerated.
No adjustments needed — the timing stays the same.
Yield, Prep Time & Total Time
Yields: As many eggs as you can fit in your pot submerged under the boiling water
Prep Time: 5 minutes
Cook Time: 15 minutes
Peeling Time: 10-15 minutes
Total Time: About 30-35 minutes
Things To Consider
A few simple tips will make a big difference when boiling eggs:
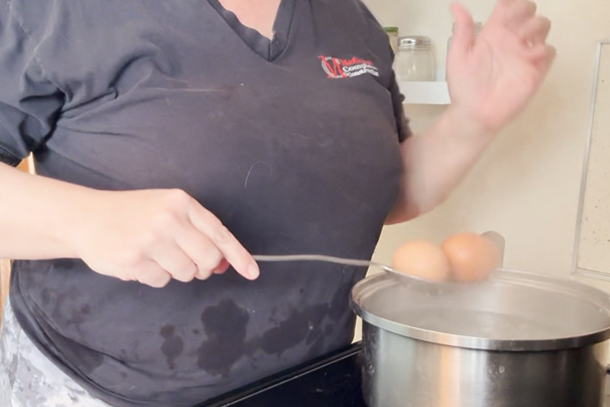
- Always use a spoon to lower eggs into the water. Dropping them in can cause cracks, which leads to egg whites leaking into the water.
- Set your timer for 15 minutes right away. Even if the water stops boiling temporarily, keep the timer the same. The water will come back up to temperature.
- Fresh eggs can still peel beautifully. The trick is in how you cool and handle them — not how old they are.
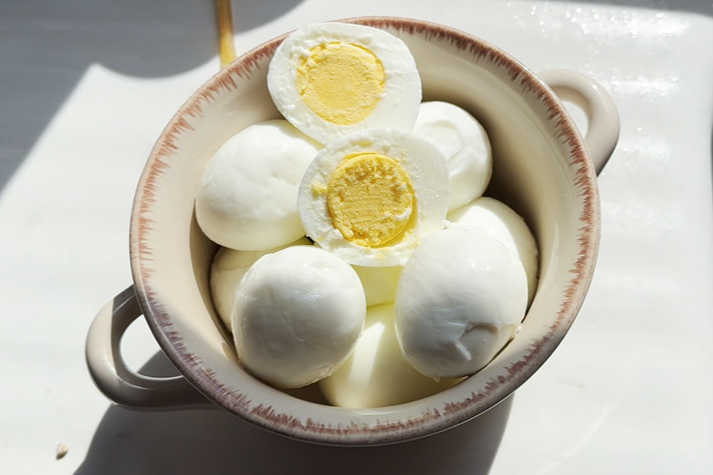
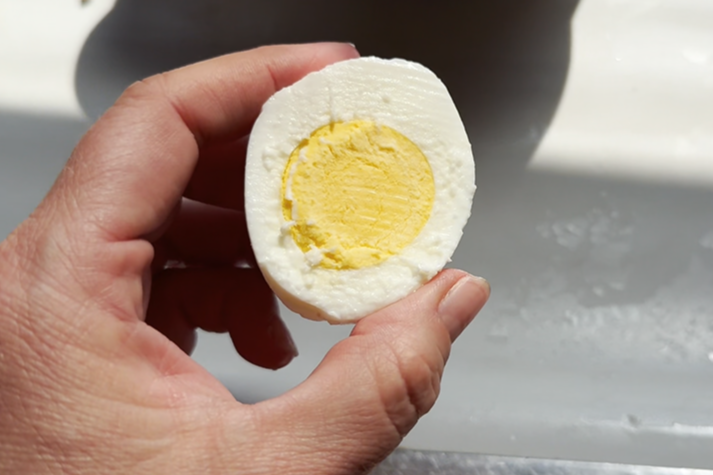
- Avoid overcooking. Perfect hard-boiled eggs should have bright yellow yolks with no gray or green; that shows they’re overcooked.
- Peeling Tip: Removing the membrane along with the shell makes everything easier. Once you get under that layer, it should peel off almost like a wrapper.
Farm Fact
Spring has officially arrived here on the farm, and with it comes an abundance of eggs in all different colors. If you’ve ever gathered eggs from your own chickens, you know how fun it is to see the variety — from browns to blues to greens.
We also have chicks in a brooder near my office right now that are getting ready to move outside soon, which makes this time of year feel especially full and busy in the best way.
Here’s something you might not know: the inside color of an eggshell tells you a little bit about the genetics of the hen who laid it.
- Brown eggs are white on the inside
- Blue eggs are actually blue all the way through the shell
- Green eggs can be either blue or white inside depending on genetics
- Green outside & White inside: more Brown Egg genetics; brown eggs are always white on the inside.
- Green outside & Blue inside: more Blue Egg genetics; the biliverdin (the color pigment) is part of the shell itself, formed earlier in the egg-making journey so when the brown is ‘painted’ on later over the blue it makes the outer shell look green.
It’s just one of those small things that makes homesteading so fascinating.
Ingredients
- Fresh Eggs, farm fresh or store-bought
- Water
How to Hard-Boil Eggs: the foolproof way
Step by Step
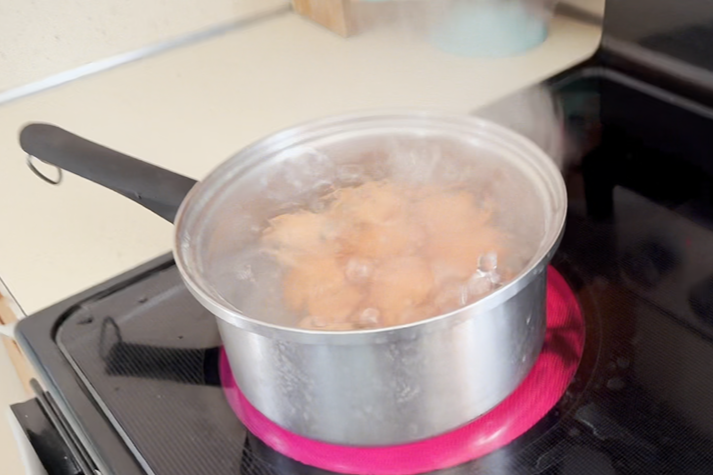
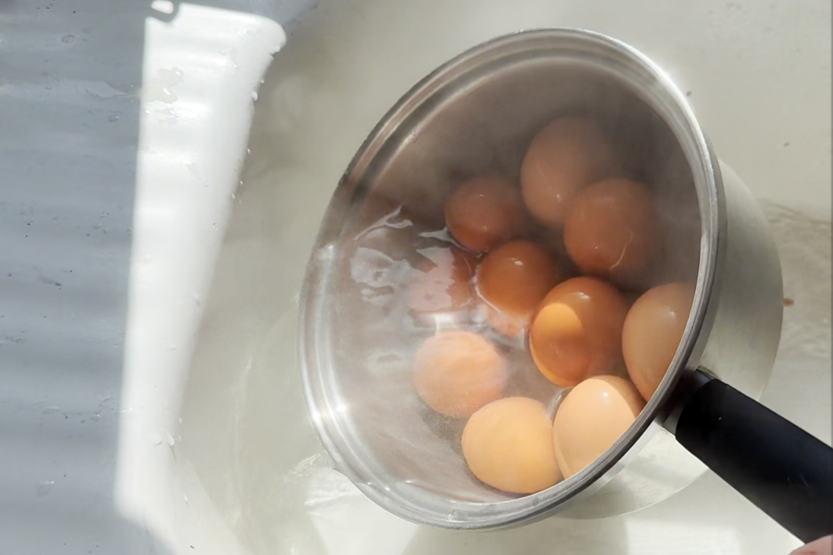
- Bring Water to a Boil: Fill your pot with water and bring it to a rolling boil on the stove.
- Gently Add Eggs: Using a spoon, carefully lower each egg into the boiling water. This helps prevent cracking and keeps your eggs intact. Make sure your water is covering your eggs completely.
- Set Timer for 15 Minutes: As soon as all the eggs are in the pot, set a timer for 15 minutes. Even if the water stops boiling initially, don’t adjust the time.

- Turn Off Heat and Drain: When the timer goes off, turn off the stove and carefully drain the hot water from the pot.
- Shake the Eggs: Give the pot a good shake to start cracking the shells. This helps loosen the membrane and makes peeling easier.
- Cool with Cold Water: Fill the pot with cold water, let it sit briefly, then drain. Repeat this process 3–4 times to cool the eggs down.

- Peel the Eggs: While the eggs are still slightly warm (or fully cooled if you prefer), begin peeling:
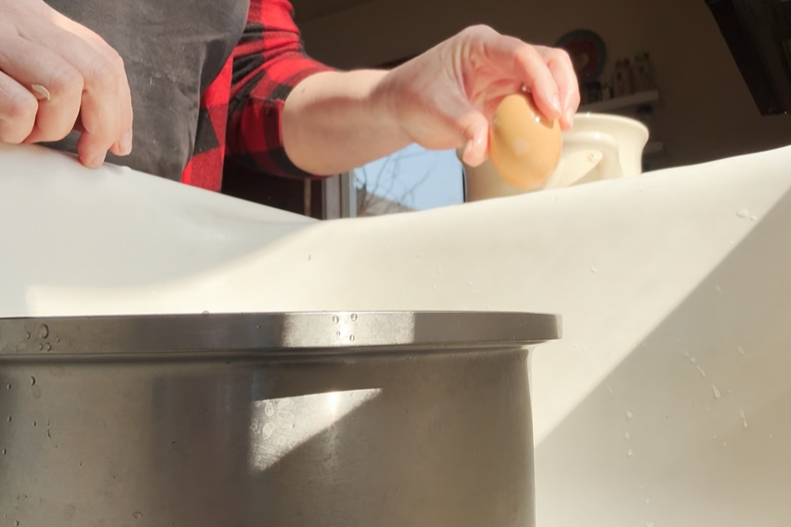
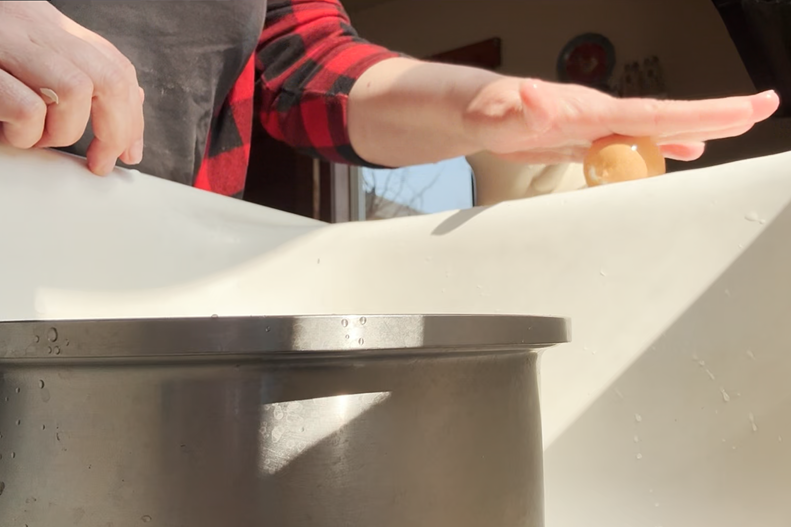
- Tap the top and bottom of the egg
- Roll it gently on the counter
- Start peeling from the rounder end with the air pocket
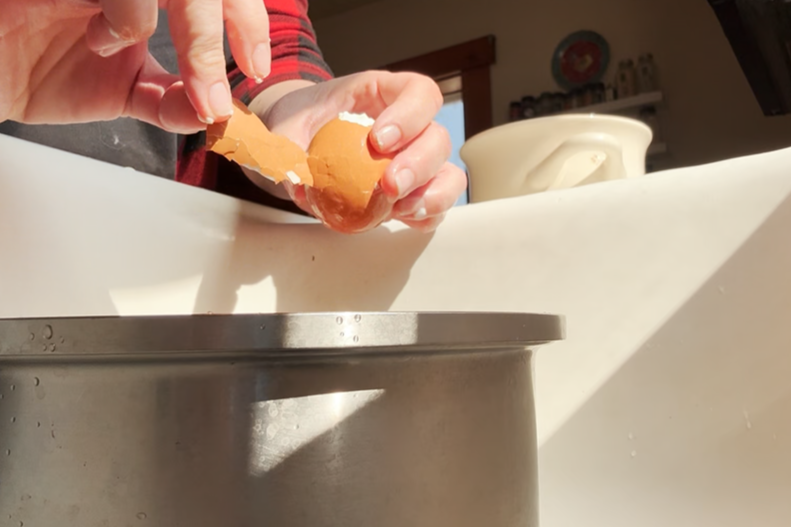
- Try to grab the membrane along with the shell so it comes off smoothly in larger pieces.
- Rinse and Finish: Rinse each peeled egg under water to remove any remaining shell pieces.
How to Use & Store Hard-Boiled Eggs
Hard boiled eggs are incredibly versatile and can be used in so many ways:
- Eaten plain with a sprinkle of salt
- Sliced for snacks or on top of salads
- Packed up for quick, protein-rich meals on the go
They’re one of the easiest make-ahead foods to keep in your fridge. I really like to store my peeled eggs in a wide mouth half gallon mason jar. This makes for super easy grab and go snacking!
Here’s a few things I use hard-boiled eggs for: deviled eggs (especially for spring or Easter), egg salad sandwiches, potato salad, garden salads, quick grab-and-go snacks.

Ready to Make It?
I added the full recipe card below for easy printing, saving, or pinning. The recipe card includes the step-by-step instructions. (Or grab the pretty printable recipe card here.)
There you have it — simple, beautiful, hard-boiled eggs without the guesswork.
Once you get the timing and peeling method down, this becomes one of those everyday kitchen skills you can do without even thinking about it. Whether you’re using fresh eggs from your own chickens or eggs from the store, this method will give you consistent, reliable results every time.
I hope this was helpful for you, and I’ll see you next time in the Little Red Farm kitchen❤
Ingredients
Equipment
Method
- Bring Water to a Boil: Fill your pot with water and bring it to a rolling boil on the stove.
- Gently Add Eggs: Using a spoon, carefully lower each egg into the boiling water. This helps prevent cracking and keeps your eggs intact.
- Set Timer for 15 Minutes: As soon as the eggs are in, set a timer for 15 minutes. Even if the water stops boiling briefly, don’t adjust the time.
- Turn Off Heat and Drain: When the timer goes off, turn off the stove and carefully drain the hot water from the pot.
- Shake the Eggs: Give the pot a gentle shake to crack the shells slightly. This helps loosen the membrane and makes peeling easier.
- Cool with Cold Water: Fill the pot with cold water, let it sit briefly, then drain. Repeat this process 3–4 times to cool the eggs down.
- Peel the Eggs: While the eggs are still slightly warm (or fully cooled if you prefer), begin peeling: Tap the top and bottom of the egg. Roll it gently on the counter. Start peeling from the end with the air pocket. Try to grab the membrane along with the shell so it comes off smoothly.
- Rinse: Run each peeled egg under cold water to remove any remaining shell pieces.


