Ingredients
Equipment
Method
Pour Cream into Mixer or Blender
- Add about 2 cups of cream to your stand mixer or blender.
- If using a stand mixer: Use the whisk or paddle attachment. Start on medium speed. The goal is churning, not beating it as fast as possible.
- If using a blender: Use the pulse setting. The goal is churning, not beating it as fast as possible.
Whip the Cream
- First, the cream will thicken and turn into whipped cream.
- This is the first stage and it happens pretty quickly in a blender or longer in a kitchen aide style mixer.
Wait for the Butter to Break
- After the whipped cream stage, something cool happens.
- Suddenly the mixture will break, separating into: butter solids & liquid buttermilk
- You’ll hear splashing and see liquid forming in the bowl. That means your butter is ready.
- Also remember:
- Mixing longer creates firmer butter
- Smaller butter pieces hold more buttermilk
- Removing buttermilk helps butter last longer
Strain the Buttermilk
- Pour the mixture through a fine mesh sieve to separate the butter from the buttermilk.
- Save the buttermilk if you’d like! It can be: used in baking, fed to pets, or added to the garden as fertilizer
Rinse the Butter
- Place the butter in a bowl and rinse it with very cold water.
- Gently squeeze the butter to push out the remaining buttermilk.
- You’ll notice the water turning cloudy — that’s the buttermilk coming out.
- Keep rinsing and squeezing until the water runs mostly clear.
- This step is important because any buttermilk left in will make butter spoil faster.
Salt the Butter (Optional)
- If you like salted butter, add a small pinch of salt and work it into the butter.
- Salt can also help push out a little more moisture.
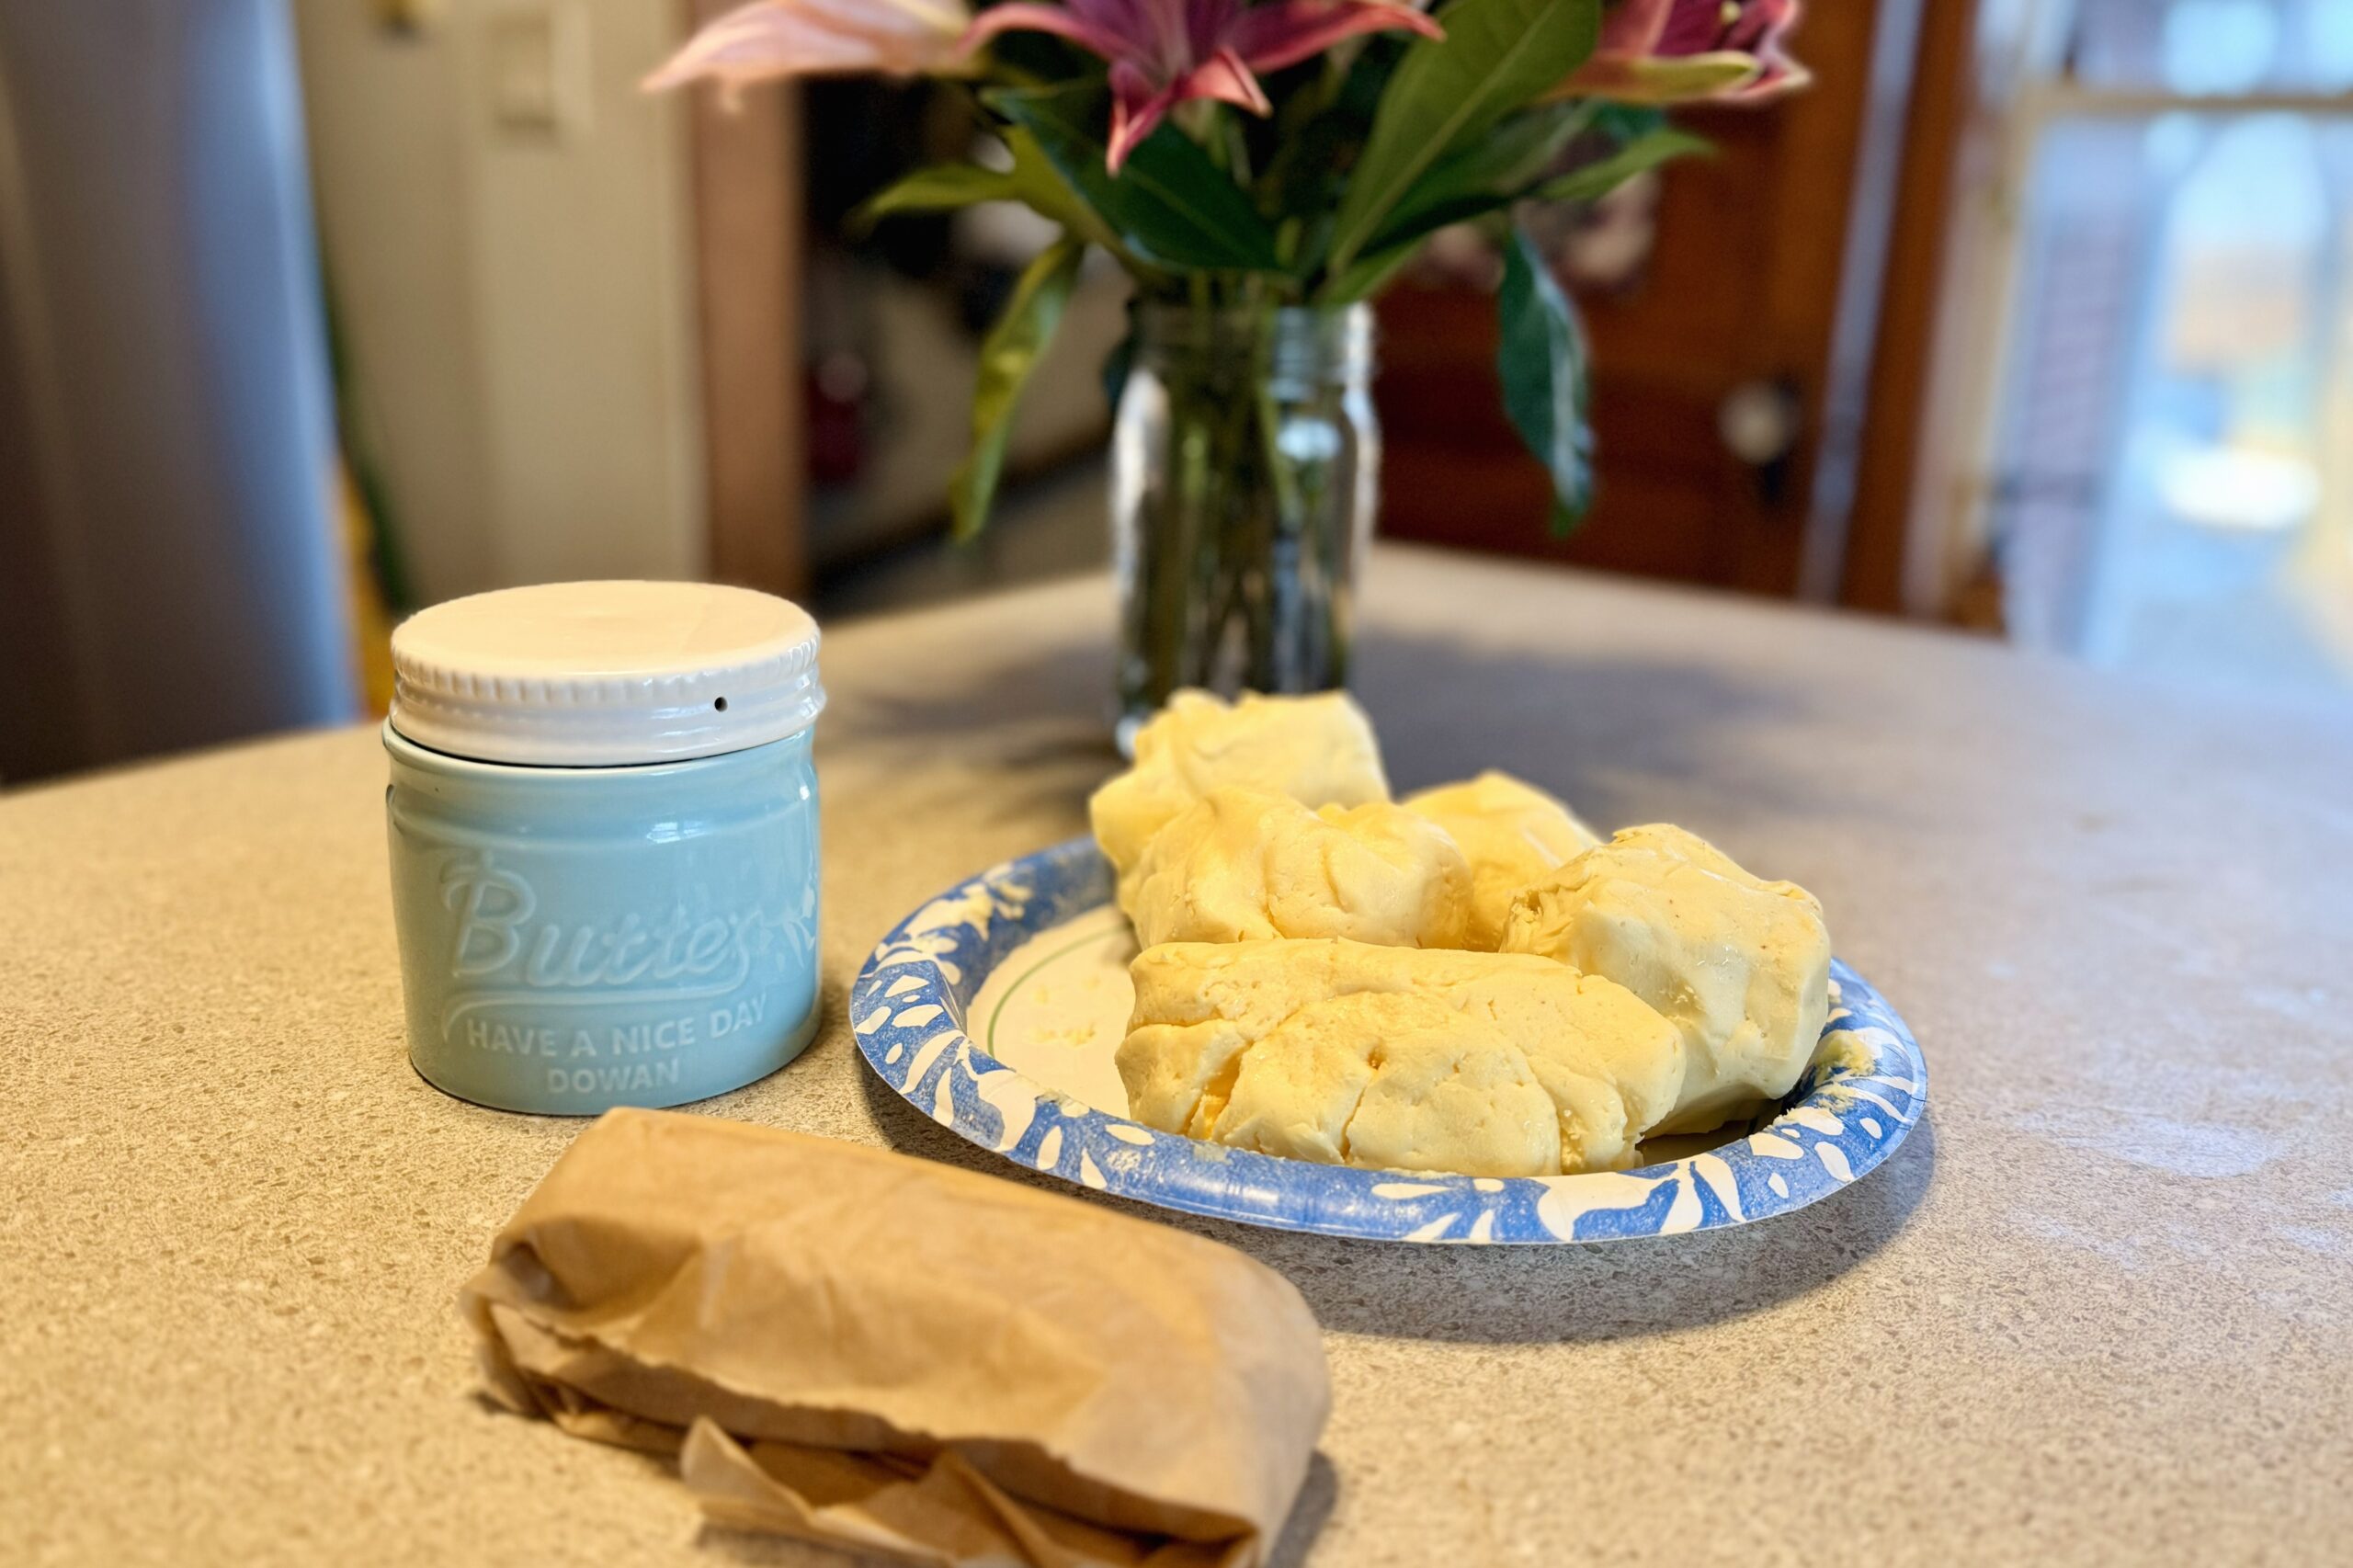
Shape the Butter
- Press the butter into a block or cube using parchment paper.
- At this point your hands will probably be very soft and moisturized from the butter — a nice little bonus!
Video
Notes
I like to store my fresh butter wrapped up in parchment paper and then sealed in a Ziploc bag in my freezer. Then I’ll just take out a stick as I need it. That way my butter stays the freshest and sweetest, the longest! (Don’t forget to date your freezer bag too.) Butter Bells are an awesome tool to use to store your fresh butter at room temp, to keep it soft and fresh —plus they’re cute! I added a few in my Amazon here to make shopping easy for you.
Fresh butter is amazing on warm homemade bread, fresh biscuits, cornbread, roasted vegetables, baked potatoes, sweet corn or some homemade pancakes and waffles (made with your buttermilk!) Fresh butter really shines when paired with simple foods that let the delicious flavor stand out.
