
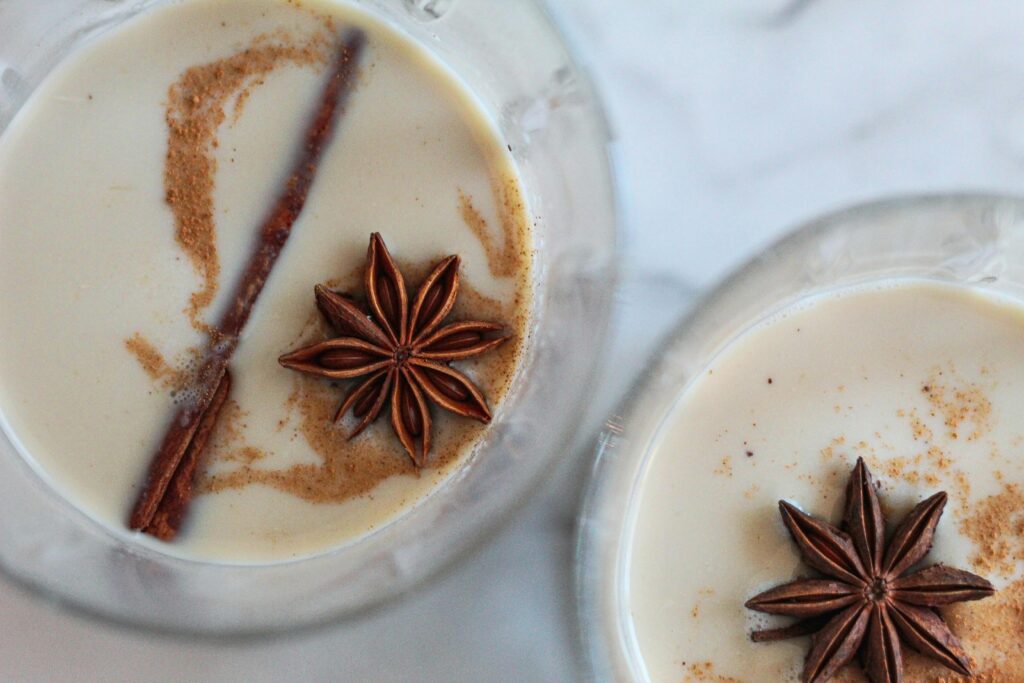
Certain flavors seem to carry the entire spirit of a season in them — warm spices, soft sweetness, creamy richness, and the kind of goodness that wraps around you like a blanket.
Every year, as soon as the days start getting shorter and I find myself reaching for my favorite flannels, something in me longs for those old-fashioned, comforting holiday traditions that make winter feel magical — the moment when the air turns crisp, the lights twinkle a little brighter, and suddenly you find yourself craving those old, comforting traditions you grew up with. This year, I’m bringing one of those traditions straight into my kitchen… and yours!
One of those traditions, without question, is homemade eggnog.
Now, I know people have strong feelings about eggnog — but that’s usually because they’ve only ever tasted the thick, overly-sweetened, store-bought kind. Fresh homemade eggnog is a completely different experience.
My dear friend Holli shared her cherished recipe for Old Fashioned Eggnog, and let me tell you — it is pure holiday comfort in a glass. Creamy, lightly spiced, sweet and simple you’ll wonder why anyone ever bought eggnog from the store! Holli’s recipe uses simple, wholesome ingredients — raw milk, raw cream, egg yolks, sugar, vanilla, and cozy spices.
What I love most about Holli’s recipe is that she
gives you two different ways to prepare it:
- Raw Eggnog — quick, simple, silky, and perfect if you’re short on time or you want to keep all the Raw Milk benefits.
- Cooked Eggnog — gently warmed and thickened, ideal if you prefer a more custard-like texture.
Both versions are served chilled, and both are absolutely delicious on their own! You can add a splash of something special if you’re making an adults-only batch, but honestly… it’s perfectly nostalgic and satisfying just the way it is.
Before I get into the full recipe, I want to share a few of the little things that make this process feel extra cozy and enjoyable — because part of the joy of homemade eggnog is the experience of making it.
Little Luxuries That Make Eggnog Day Extra Fun
Every kitchen has those items you reach for again and again because they simply make life easier. When we make eggnog (and especially when using raw milk), there are a couple of tools that really shine.
First is a glass drinking pitcher — the kind you can pour your raw milk into with the little spout so you can keep drinking your milk while you let the cream rise to the top! The lid flips up and you can scoop out the cream. If you’ve never experienced fresh cream naturally separating… oh, it feels like stepping back in time. It’s simple, old-fashioned kitchen magic. The cream floats up beautifully, making it incredibly easy to scoop off for recipes like this where that thick, rich cream really makes a difference. If you keep raw milk in your home, a dedicated pitcher for this purpose is almost essential.
The second little luxury? Store-and-pour pitcher jar lids. These are perfect for storing your finished eggnog because they make pouring out of a glass jar so tidy and easy — no drips down the side of jars, no trying to maneuver a ladle over holiday mugs. They’re also fantastic for shaking the eggnog before serving, especially after it’s been chilled for a few hours, the spices settle and the cream can separate, so giving everything a quick swirl brings all the flavors back to life.
I added the links for those above because I reach for them constantly and they really do make recipes like this easier to make on a regular basis. Now — let’s get to the star of the season.
Old Fashioned Eggnog Two Ways!
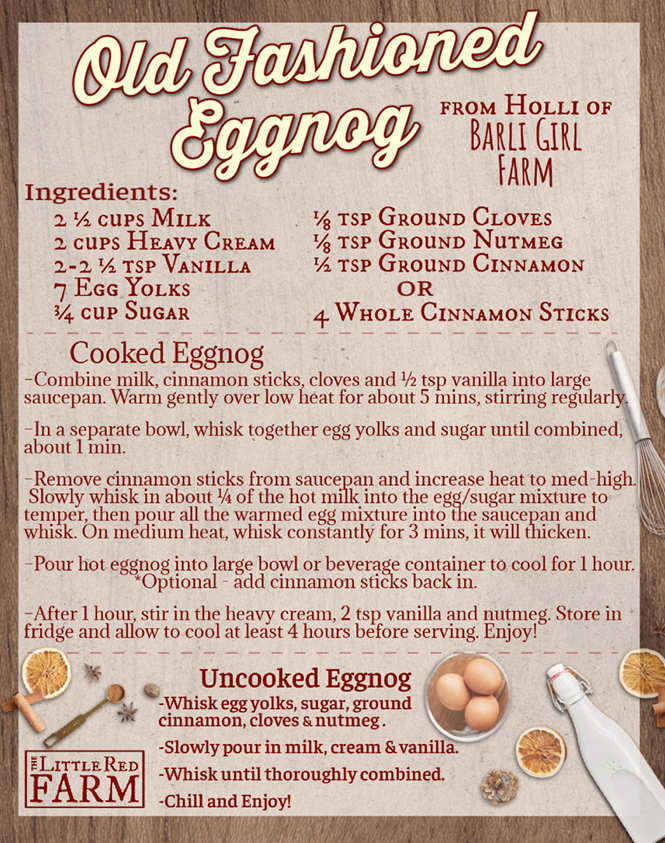
Below is the full version of Holli’s beloved eggnog recipe, how she prepares it. You can choose Raw Eggnog for a lighter, quicker drink or Cooked Eggnog for that classic custard-style holiday treat.

Raw Eggnog (quick & silky)
This version is perfect when you want that nostalgic eggnog flavor right now — no cooking, just whisk and chill. The texture is lighter than store-bought eggnog, almost like a creamy holiday milk drink with cozy warmth from the spices.
How to make it:
Whisk the egg yolks, sugar, cinnamon, cloves, and nutmeg together in a large mixing bowl until the mixture becomes fragrant and well-combined. Then slowly pour in the raw milk, raw cream, and vanilla, whisking as you go. This gradual mixing helps the cream blend smoothly into the warm spices without clumping. Once everything is silky and uniform, chill your eggnog until cold — then pour into your favorite glasses, sprinkle with a little extra cinnamon or nutmeg if you like, and enjoy!
This version is incredibly fresh-tasting and absolutely delightful for sipping by the Christmas tree!
Cooked Eggnog (Classic & Custardy)
If you love a thicker, richer eggnog — the kind that feels almost like a warm holiday hug — the cooked version is for you. It takes a little more time, but the result is worth it!
How to make it:
Start by combining raw milk, cinnamon sticks, cloves, and 1/2 teaspoon of vanilla in a large saucepan. Warm it gently over low heat for about 5 minutes, stirring regularly. You’re not trying to boil it — just coax out those warm, fragrant holiday spices.
In a separate bowl, whisk together the egg yolks and sugar until the mixture becomes smooth, about one minute.
Remove the cinnamon sticks from the warmed milk mixture (you can save them to add back later if you love extra flavor!).
Now comes the key part: tempering. Slowly whisk about 1/4 of the hot milk into the egg-and-sugar mixture. This warms the eggs gently without scrambling them. Once it’s smooth and warm, pour the entire egg mixture back into the milk in the saucepan and continue whisking over medium heat for about 3 minutes. You’ll feel it begin to thicken into that familiar eggnog texture.
When it’s ready, pour the hot eggnog into a large bowl, jar, or pitcher to cool for at least one hour. After that, stir in the heavy cream, remaining vanilla and nutmeg, then chill the whole batch in the fridge for at least another four hours — the flavor deepens beautifully during this time.
Give your pitcher a gentle shake and serve your eggnog chilled, with a dusting of nutmeg and maybe a cinnamon stick if you want to feel extra festive!
A Holiday Tradition Worth Keeping
There are countless holiday recipes out there, but this one feels special. It’s simple, nostalgic and rooted in the kind of homemade traditions that make winter feel warm and meaningful. Whether you’re making it for guests, sharing it with family, or just treating yourself to a quiet moment on a snowy day, Holli’s Old Fashioned Eggnog has a way of making everything feel a little cozier, a little sweeter and a little more magical 🖤

Ingredients
Method
- Whisk egg yolks, sugar, cinnamon, cloves and nutmeg in a large bowl
- Slowly pour in the milk, cream and vanilla
- Whisk until thoroughly combined
- Chill & Enjoy!
- Combine Milk, Cinnamon Sticks, Cloves and 1/2 tsp Vanilla into a large saucepan. Warm gently over low heat for 5 minutes, stirring regularly.
- In a separate bowl, whisk together the Egg Yolks and Sugar until combined, about 1 minute.
- Remove Cinnamon Sticks from saucepan.
- Slowly whisk in about 1/4 of the hot milk into the Egg/Sugar mixture to temper, then pour all the warmed egg mixture into the saucepan and whisk.
- On medium heat, whisk constantly for 3 minutes, it will thicken.
- Pour hot eggnog into a large bowl, jar or beverage container to cool for at least 1 hour. *Optional: add the Cinnamon Sticks back in.
- After 1 hour, stir in the Heavy Cream, 2 tsp Vanilla and Nutmeg.
- Store in the fridge and allow to cool at least 4 hours before serving.
- Enjoy!


Leave a Reply