This post may contain affiliate links.
We do make a small commission off qualifying purchases and appreciate your support!

If you’ve ever wondered how to make homemade butter, you’ll be surprised by how easy it is to turn fresh cream into rich, creamy butter right in your own kitchen.
How to Make Butter from Fresh Cream (Just Like We Do on the Farm)
Hey friend — I’m so glad you’re back in the Little Red Farm kitchen with me today. If we haven’t met yet, I’m Mindy, the raw milk dairy farmer here at The Little Red Farm. Today we’re making something simple, traditional, and honestly a little magical: homemade butter from fresh cream.
So grab yourself a fun drink, put on some relaxing (or energizing) music, and let’s make butter together.
Want to see it step by step? Check out the video below
Kitchen Tools I Use to Make Butter
✔ Stand Mixer (like a KitchenAid) with whisk or paddle attachment
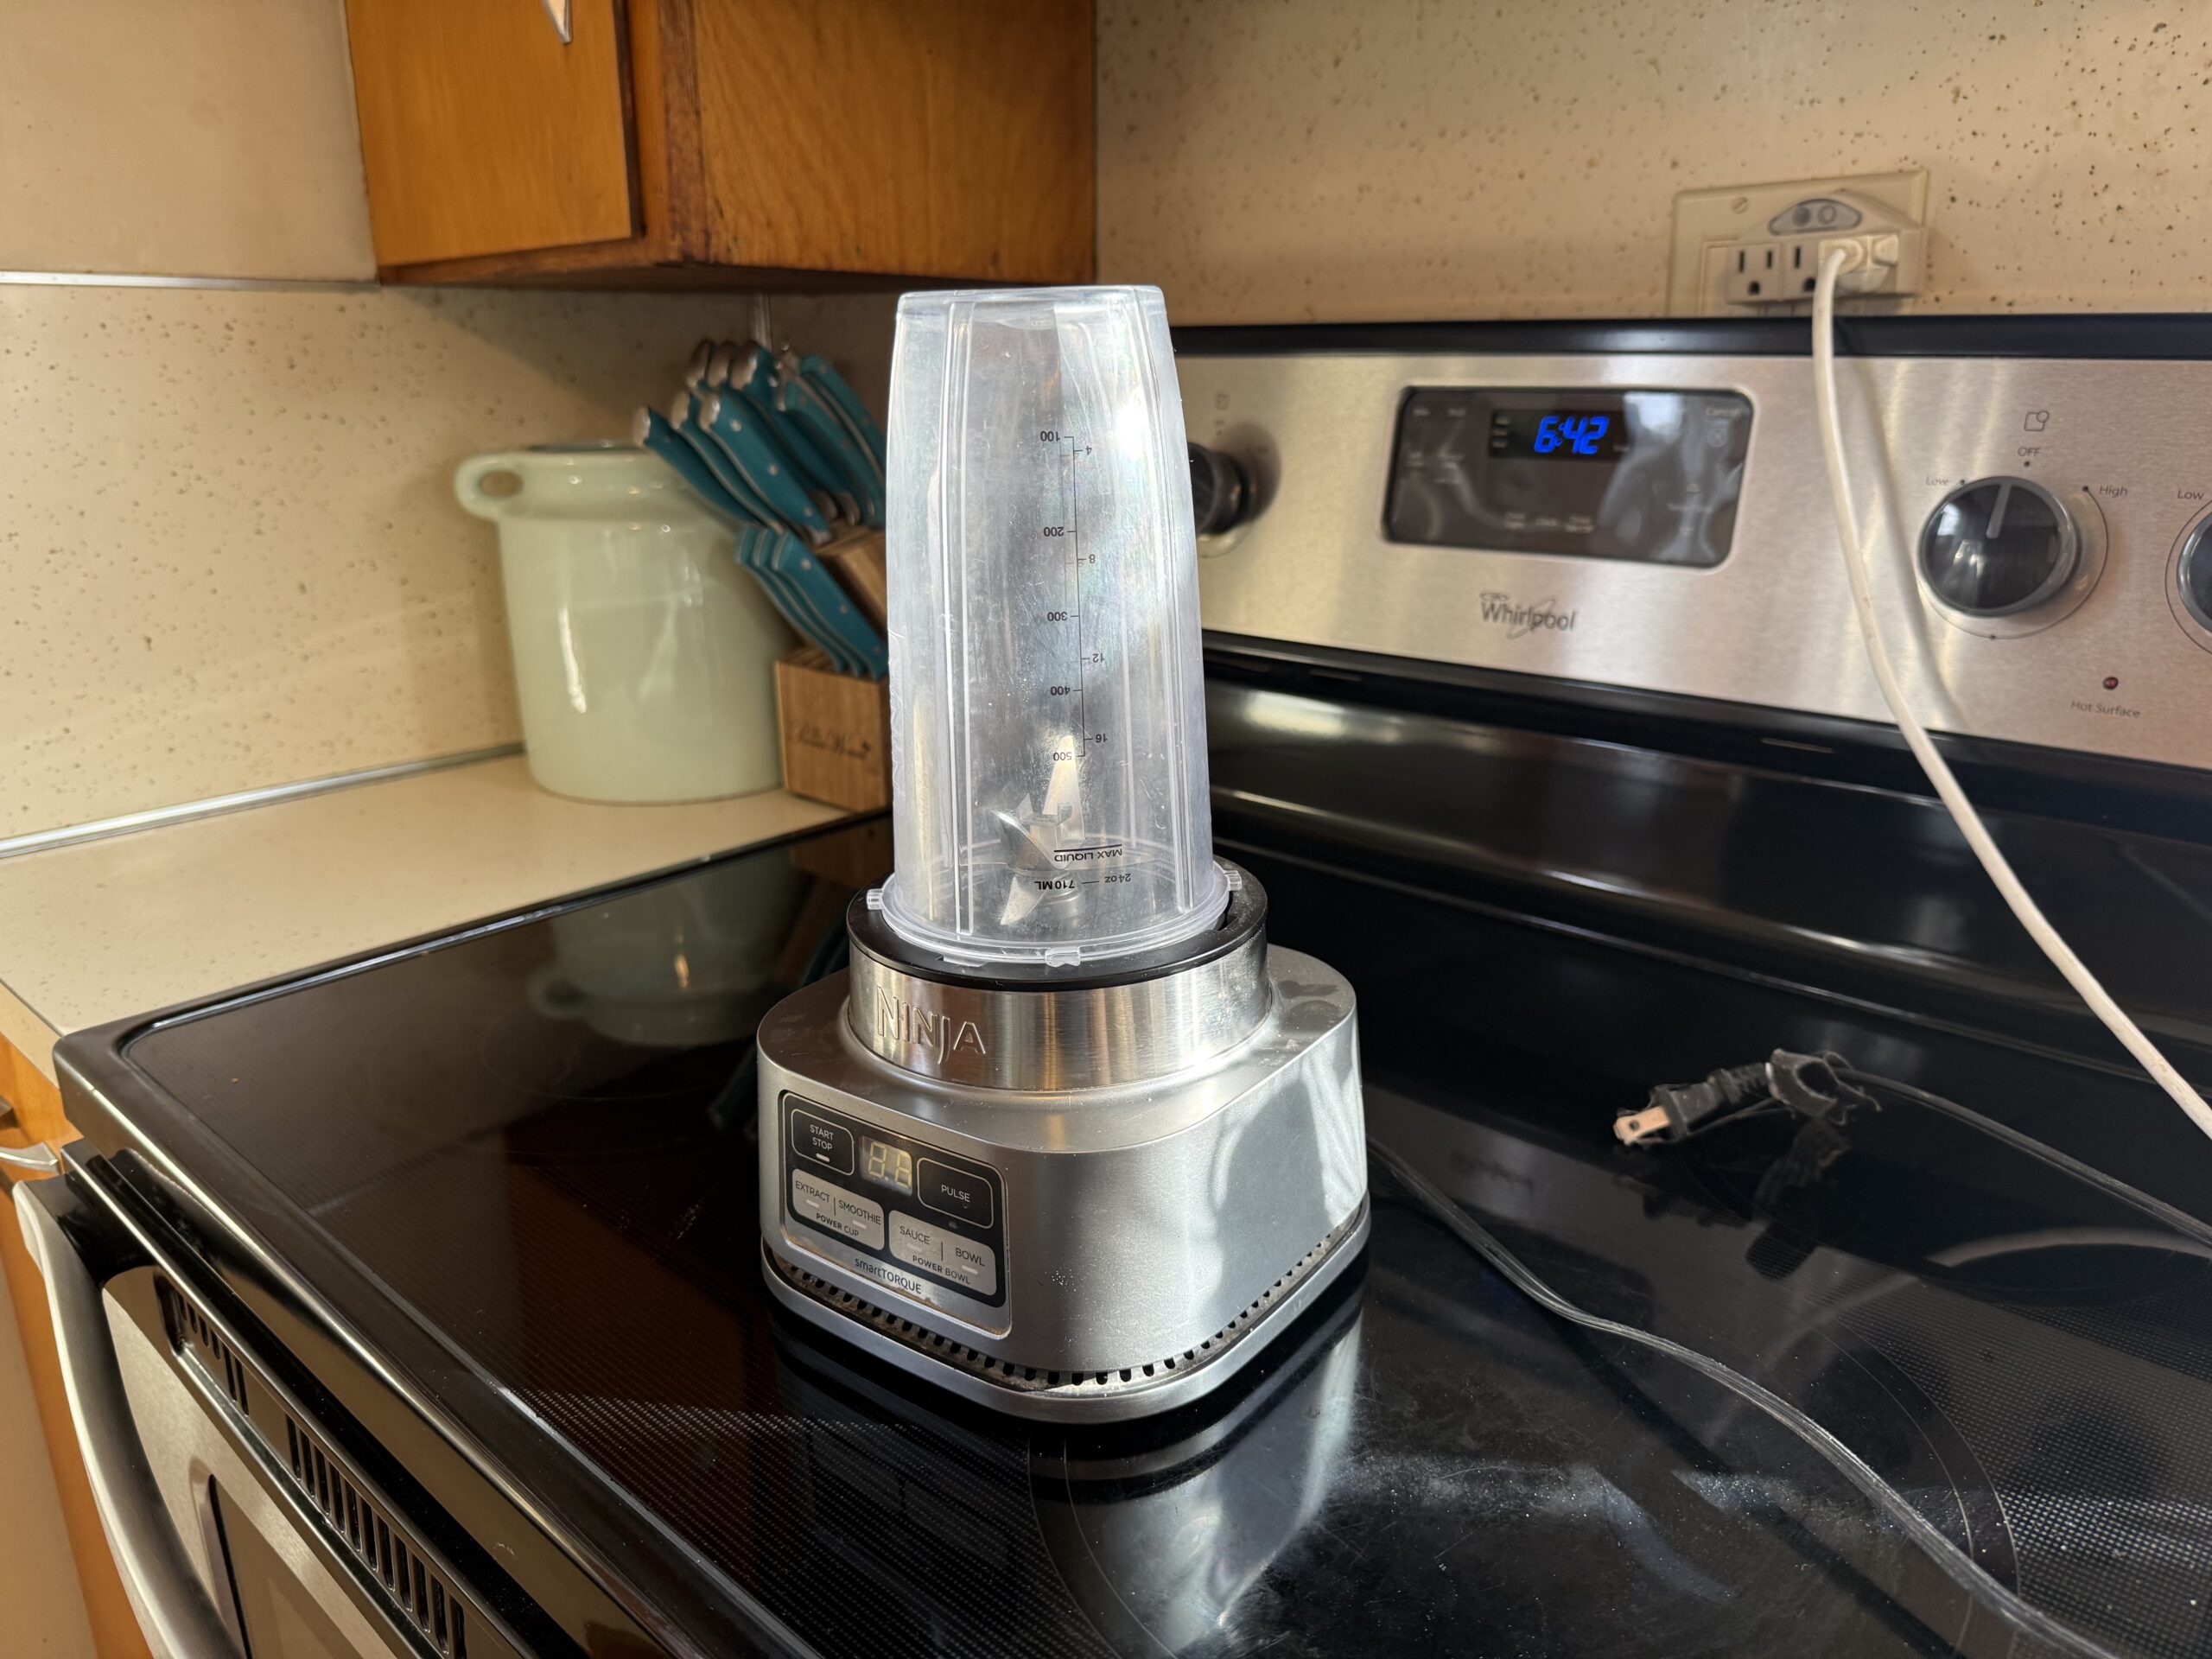
✔ Blender, Smoothie Maker, or NutriBullet
✔ Fine Mesh Sieve or Strainer
✔ Bowl for rinsing butter
✔ Parchment Paper
✔ Optional: Butter Paddles
✔ Optional: Butter Bell for Storage
*You can even make butter in a jar by shaking it, which is a fun project for kids!
If you’re an Amazon shopper – here’s a Fresh Butter Making shopping list I curated for you! ❤
Fresh Butter Ingredients Needed
Here’s what you’ll want to gather before you begin…
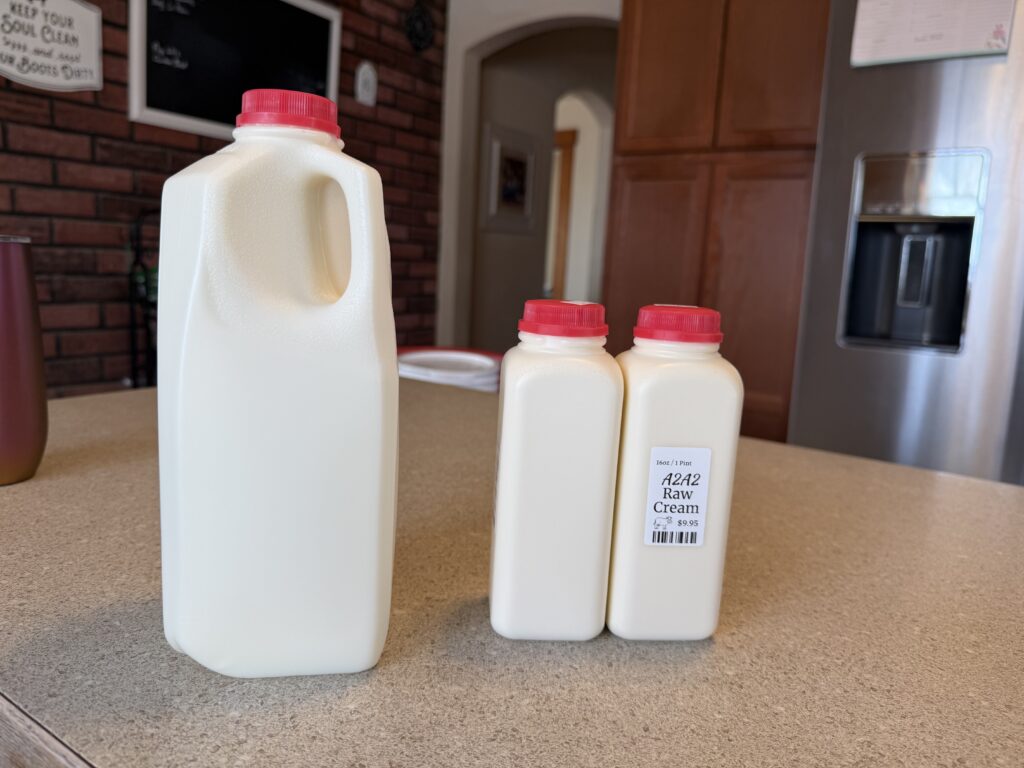
- Fresh cream (raw cream from a farm or heavy cream from the store)
- Cold water
- Salt (optional, to taste)
Substitutions
If you don’t have access to raw milk or fresh farm cream, heavy whipping cream from the grocery store works perfectly.
Yield, Prep Time & Total Time
Yields: About 5–6 ounces of butter per 2 cups (1 pint) of cream
Prep Time: 5 minutes
Mixing Time: 5–15 minutes depending on method
Processing Time: 15-20 minutes, rinsing, pressing & forming
Total Time: About 25–40 minutes
Things To Consider
Before we jump in, we’ll talk briefly about the difference between whole milk and cream, because that’s one of the questions I get the most. Once you understand that, making butter is incredibly simple. Just remember:
- Store milk options: skim, 1%, 2%, whole milk
- The percentage refers to fat content
- Whole milk from a store has less fat than raw whole milk from a dairy farm
At the grocery store you’ll also see:
- Half-and-half: half milk, half cream
- Heavy whipping cream: thicker because more liquid cream has been removed
If you’re buying cream from a dairy farm, it may not look or behave exactly like heavy whipping cream from the store — and that’s completely normal.
One of the fascinating things about fresh dairy is that butterfat changes throughout the year.
Cows naturally produce milk based on what their calves need:
- Winter milk: higher butterfat for warmth and energy
- Summer milk: thinner with more hydration
That means the amount of cream — and butter — you get from milk changes with the seasons. It’s one of those things you’d probably never notice unless you live on a farm or make butter regularly.
Ingredients
- 2 cups Fresh Cream
- Cold water
- Salt (optional)
How to Make Fresh Butter
Step by Step

- Pour Cream into Mixer or Blender: Add about 2 cups of cream to your stand mixer or blender.
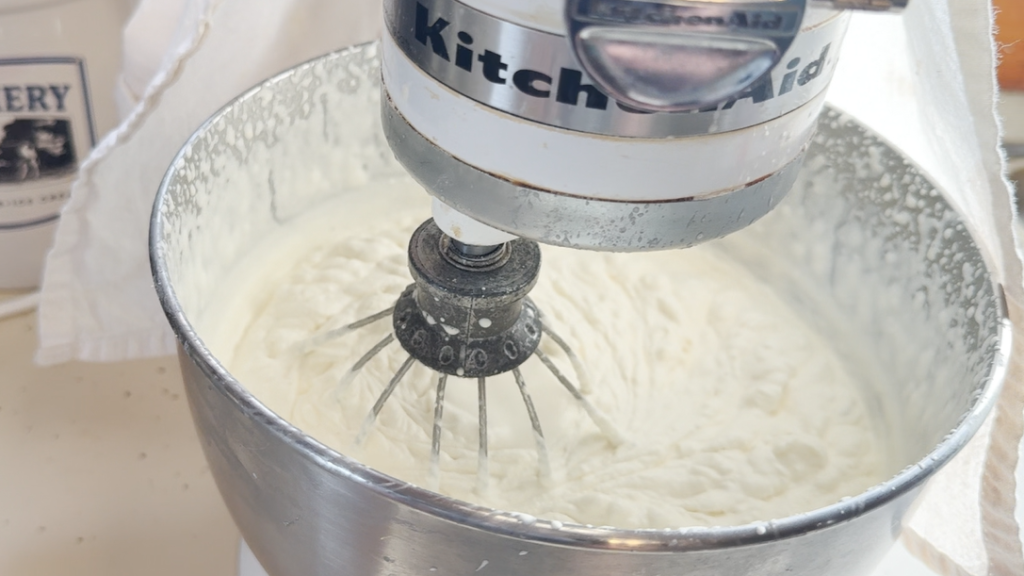
- If using a Stand Mixer: Use the whisk or paddle attachment. Start on medium speed. The goal is churning, not beating it as fast as possible.
- If using a Blender: Use the pulse setting. The goal is churning, not beating it as fast as possible.
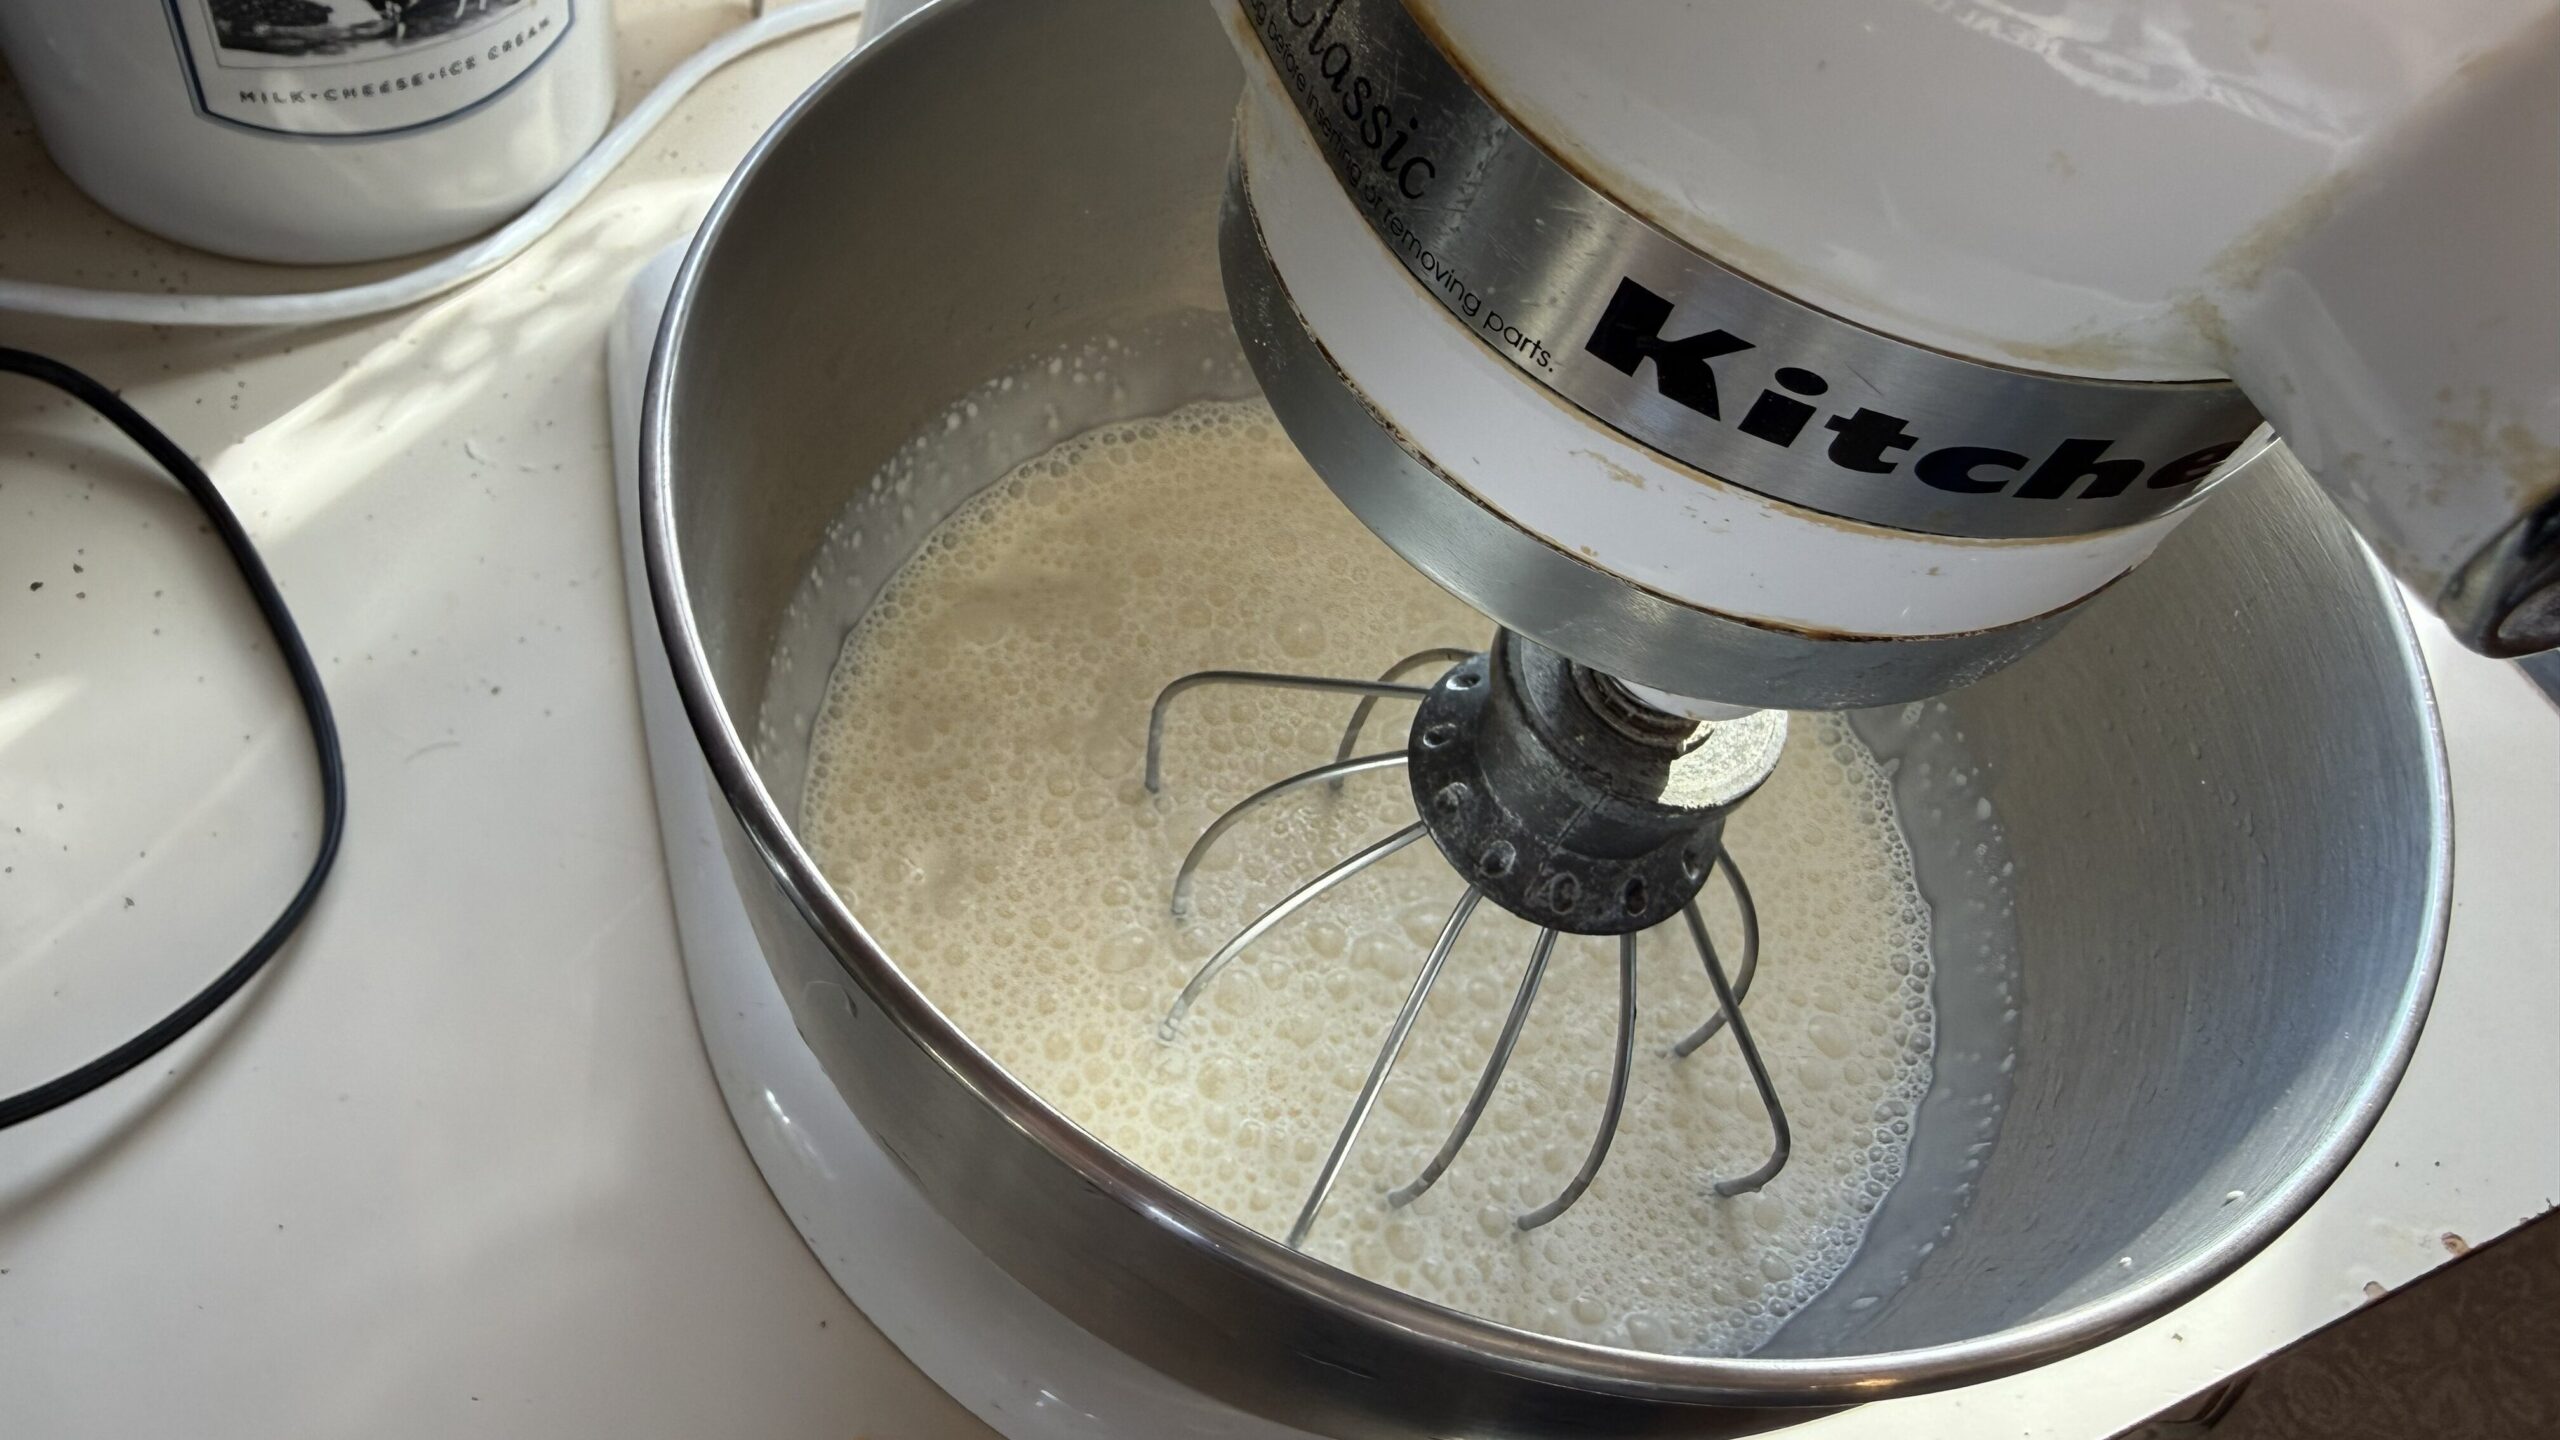
- Whip the Cream: First, the cream will thicken and turn into whipped cream. This is the first stage, and it happens pretty quickly in a blender or just a little longer in a Stand Mixer.
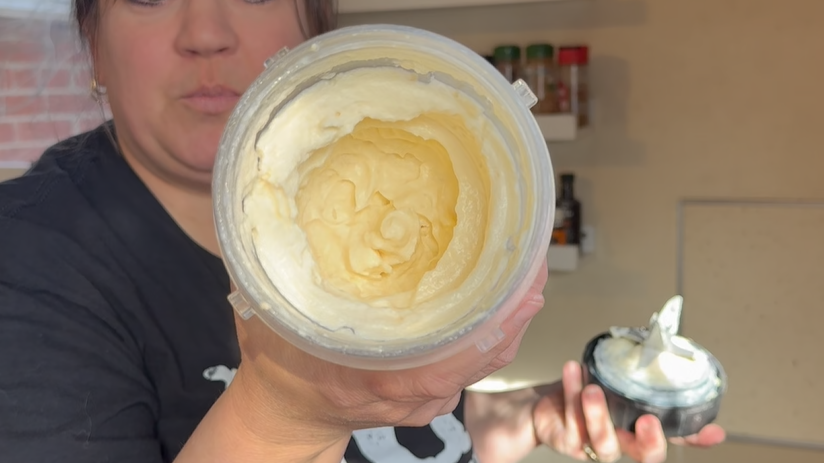
- Wait for the Butter to Break: After the whipped cream stage, something cool happens. Suddenly the mixture will break, separating into: Butter Solids & Liquid Buttermilk. You’ll hear splashing and see liquid forming in the bowl. That means your butter is ready.


Important Note to Remember:
- Mixing longer creates firmer butter
- Smaller butter pieces hold more buttermilk
- Removing buttermilk helps butter last longer
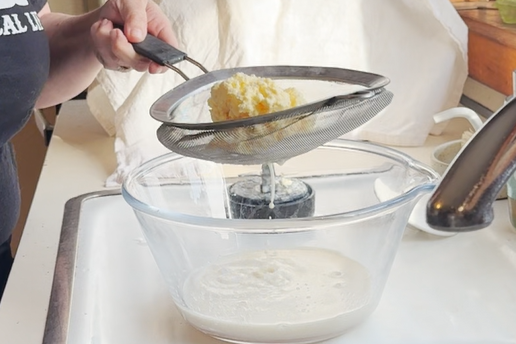
- Strain the Buttermilk: Pour the mixture through a fine mesh sieve to separate the butter from the buttermilk.
- Save the buttermilk if you’d like! It can be used in baking, fed to pets, or added to the garden as fertilizer.
- Rinse the Butter: Place the butter in a bowl and rinse it with very cold water.
- Gently squeeze the butter to push out the remaining buttermilk.
- You’ll notice the water turning cloudy — that’s the buttermilk coming out.
- Keep rinsing and squeezing until the water runs mostly clear. This step is important because any buttermilk left in will make butter spoil faster.
- Salt the Butter (Optional): If you like salted butter, add a small pinch of salt and work it into the butter. Salt can also help push out a little more moisture.
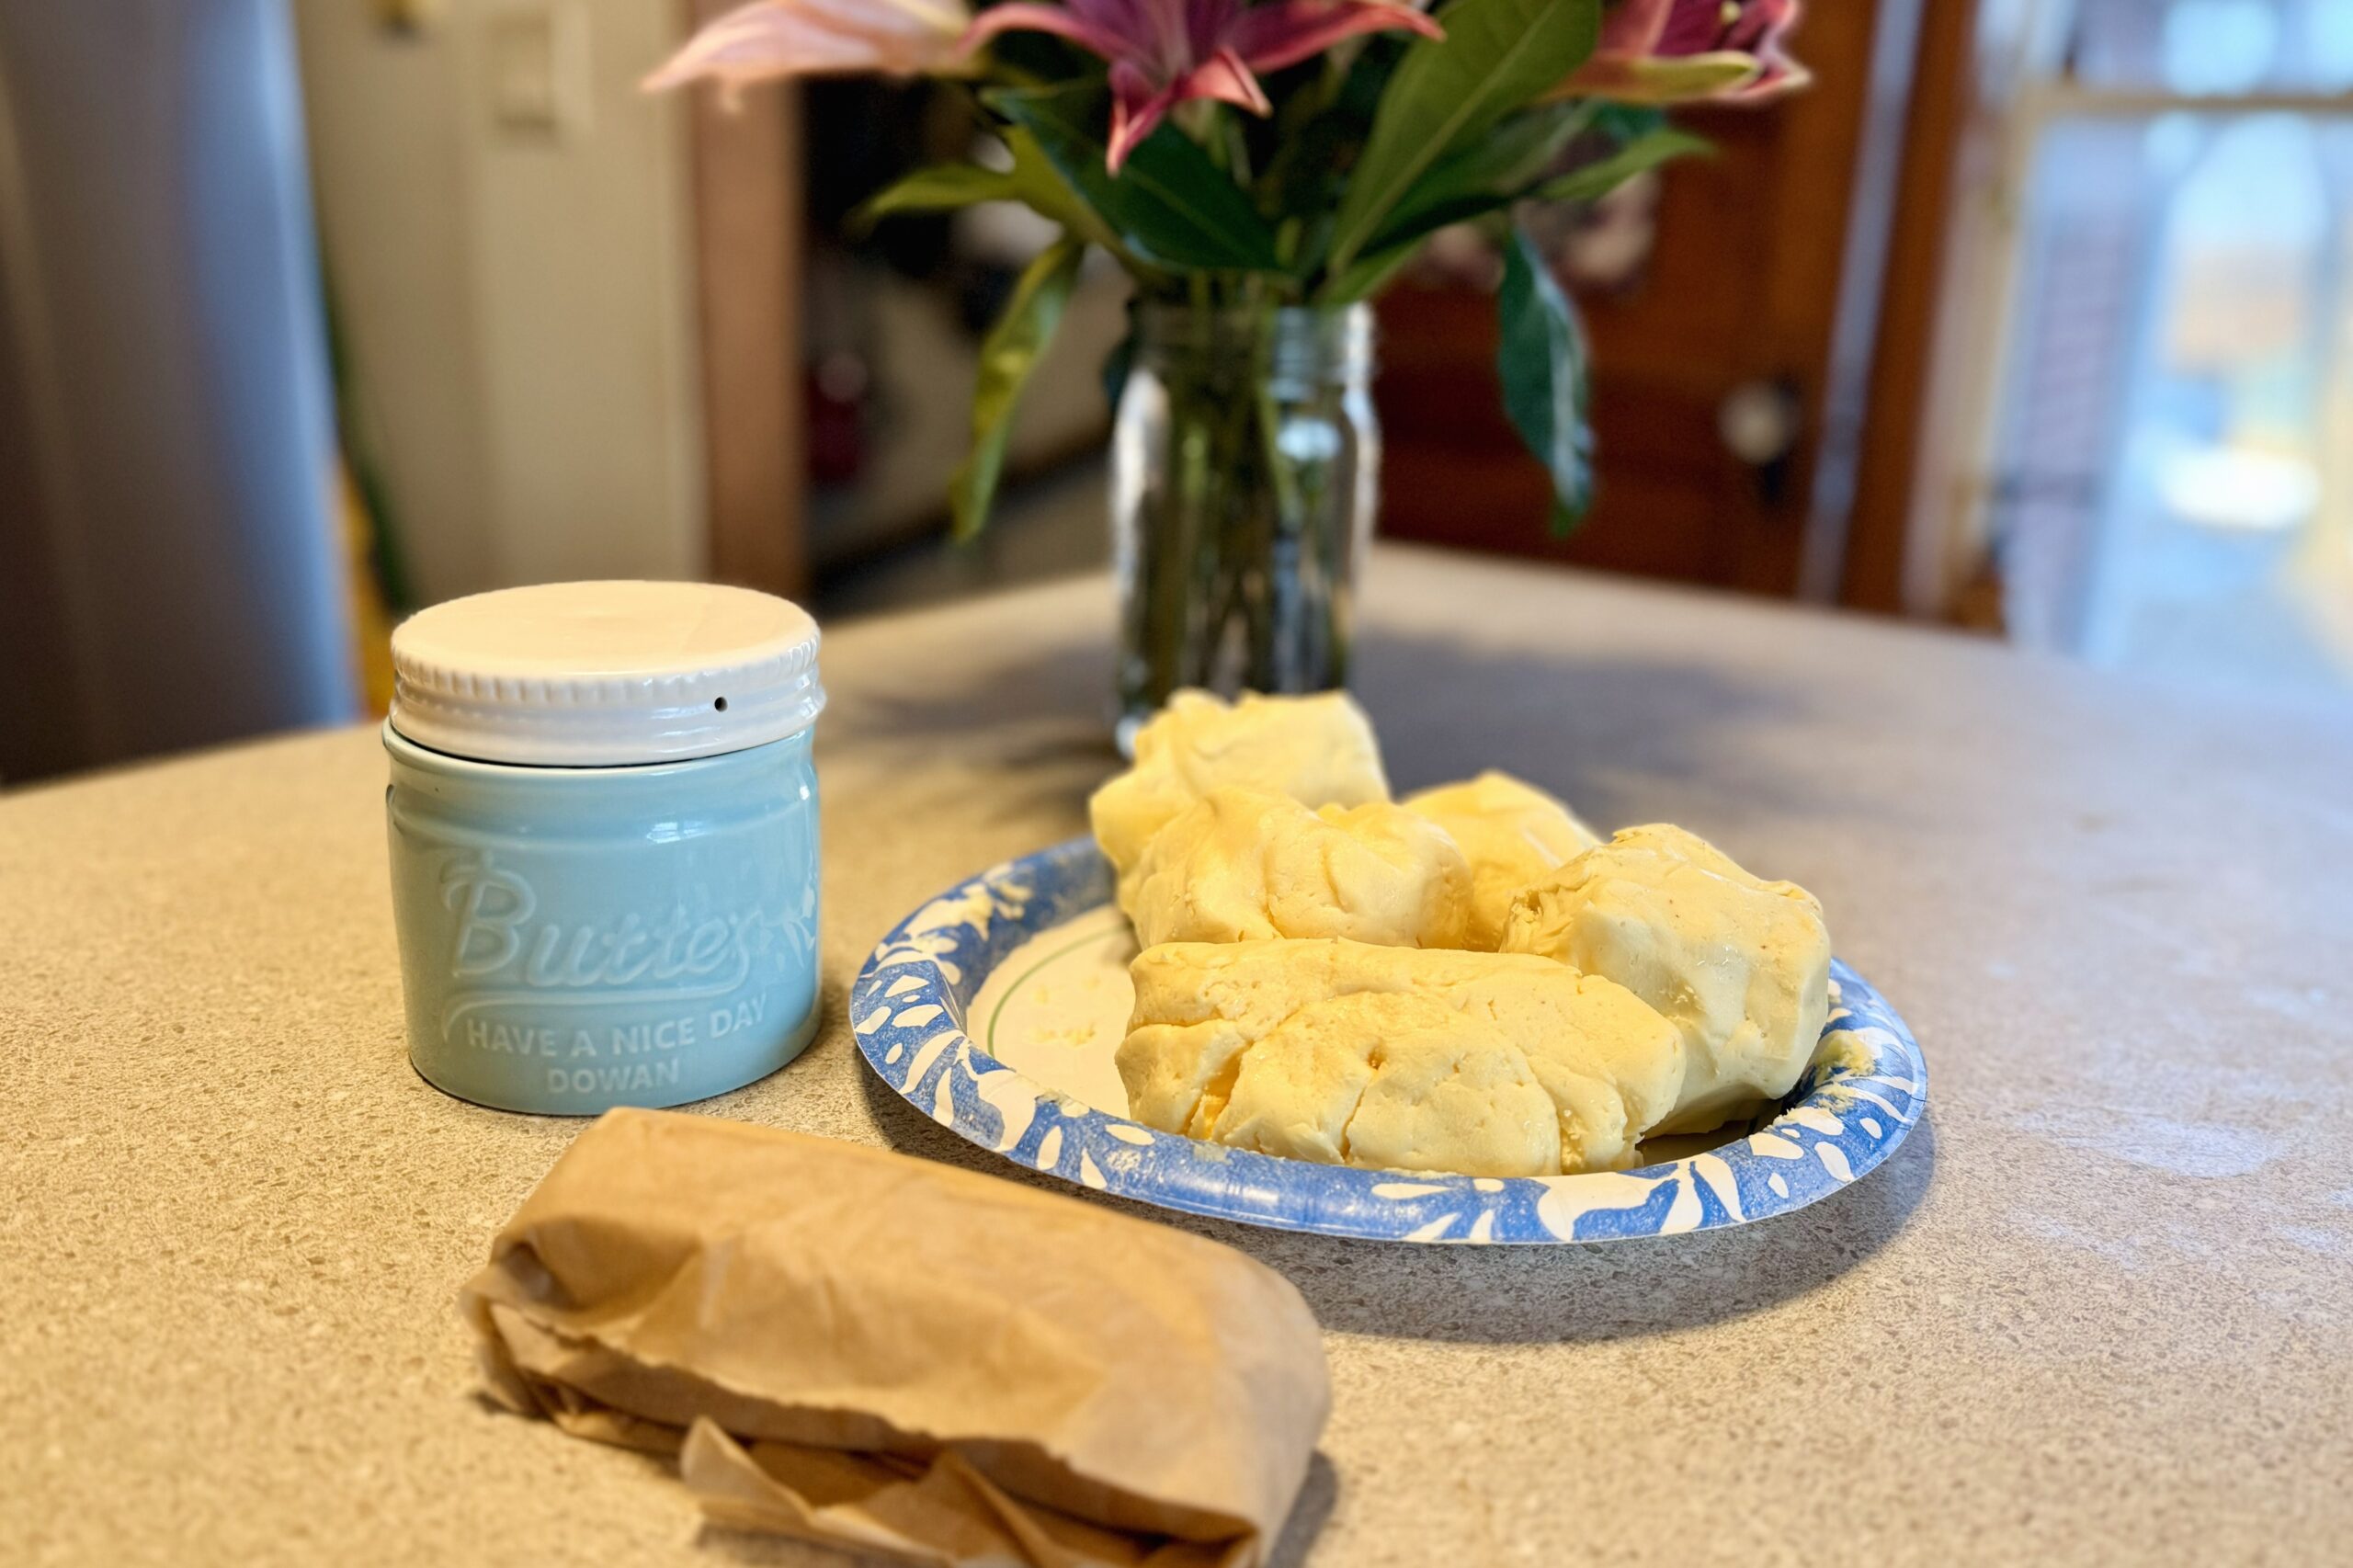
- Shape the Butter: Press the butter into a block or cube using parchment paper. At this point your hands will probably be very soft and moisturized from the butter — a nice little bonus!

How to Serve & Store Fresh Butter
I like to store my fresh butter wrapped up in parchment paper and then sealed in a Ziploc bag in my freezer. Then I’ll just take out a stick as I need it. That way my butter stays the freshest and sweetest, the longest! (Don’t forget to date your freezer bag too.) Butter Bells are an awesome tool to use to store your fresh butter at room temp, to keep it soft and fresh —plus they’re cute! I added a few in my Amazon here to make shopping easy for you.
Fresh butter is amazing on warm homemade bread, fresh biscuits, cornbread, roasted vegetables, baked potatoes, sweet corn or some homemade pancakes and waffles (made with your buttermilk!) Fresh butter really shines when paired with simple foods that let the delicious flavor stand out.
Ready to Make It?
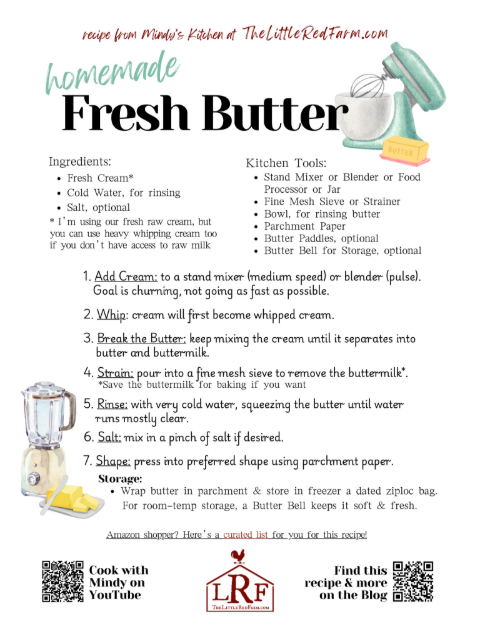
I added the full recipe card below for easy printing, saving, or pinning. The recipe card includes the measurements and step-by-step instructions. (Or grab the pretty printable recipe card here.)
If you’re an Amazon shopper, here’s a super easy shopping list for this recipe.
If you try making butter at home, I hope this helps make the process easier and a little more fun. Whether you use a blender, stand mixer, or just a jar and some enthusiastic kids, homemade butter is one of those old-fashioned kitchen skills that’s surprisingly simple.
Thanks for spending a little time in the Little Red Farm kitchen with me today. Now I’ve got a kitchen to clean up, and I’m guessing you’ve got something delicious to cook.
Take good care of yourself too — not just everyone else.❤
Ingredients
Equipment
Method
- Add about 2 cups of cream to your stand mixer or blender.
- If using a stand mixer: Use the whisk or paddle attachment. Start on medium speed. The goal is churning, not beating it as fast as possible.
- If using a blender: Use the pulse setting. The goal is churning, not beating it as fast as possible.
- First, the cream will thicken and turn into whipped cream.
- This is the first stage and it happens pretty quickly in a blender or longer in a kitchen aide style mixer.
- After the whipped cream stage, something cool happens.
- Suddenly the mixture will break, separating into: butter solids & liquid buttermilk
- You’ll hear splashing and see liquid forming in the bowl. That means your butter is ready.
- Also remember:
- Mixing longer creates firmer butter
- Smaller butter pieces hold more buttermilk
- Removing buttermilk helps butter last longer
- Pour the mixture through a fine mesh sieve to separate the butter from the buttermilk.
- Save the buttermilk if you’d like! It can be: used in baking, fed to pets, or added to the garden as fertilizer
- Place the butter in a bowl and rinse it with very cold water.
- Gently squeeze the butter to push out the remaining buttermilk.
- You’ll notice the water turning cloudy — that’s the buttermilk coming out.
- Keep rinsing and squeezing until the water runs mostly clear.
- This step is important because any buttermilk left in will make butter spoil faster.
- If you like salted butter, add a small pinch of salt and work it into the butter.
- Salt can also help push out a little more moisture.
- Press the butter into a block or cube using parchment paper.
- At this point your hands will probably be very soft and moisturized from the butter — a nice little bonus!


